Each Thursday my Border Buddy Alison Solven from Canada and I share a card on our blogs that we have CASEd from the catalog. CASE (Copy And Selectively Edit). We like to show you how you can use the paper crafting projects in the Stampin’ Up! Catalogs to inspire you!

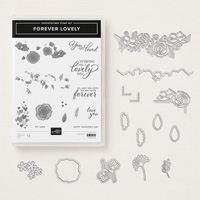
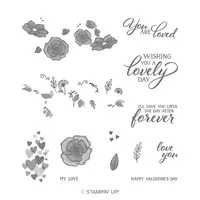
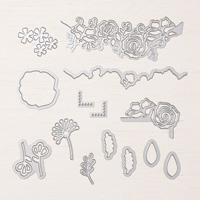
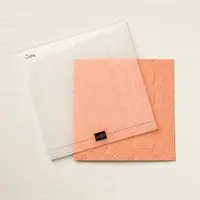
Today's card features the Forever Lovely Stamp Set and the Be Mine Stitched Framelits. The texture on the paper was created with the Meant to Lace Dynamic Textured Impressions Embossing Folder (say that five times – for simplicity sake I will refer to it as the Lace Embossing Folder.
Stampin' Up! has two different type of embossing folders – the Dynamic which gives you deep impressions and the regular embossing folder which isn't as textured. With the Dynamic folder you only use one plate with the regular you sandwich the folder between two plates. I often get questions about how to sandwich the two different embossing folders, so I create a quick How-To video. CLICK HERE to watch the video.

When you CASE, you can copy it exactly, or tweak it by changing the colors and or even the stamp set or both. In today's card, I CASEd it exactly, except for the colors of paper and I replaced the Baker's Twine with ribbon.
Simple Stamping Steps
- Fold a 5 1/2" x 8 1/2" piece of Soft Sea Foam cardstock in half to create card base.
- Run a 4" x 5 1/4" piece of Soft Sea Foam cardstock through the Big Shot using the Lace Dynamic Folder.
- Run a 1 1/4" x 4 1/4" piece of All My Love Designer Paper through the Big Shot using the scallop stitched edge framelit from the Be Mine Stitched Framelits Dies.
- Glue the Designer Paper center on the card front about 1/2" from the bottom.
- Tie the ribbon around the cardfront in the center of the designer paper and tie in a bow towards the left.
- Adhere the embossed Soft Sea Foam to the card front.
- Cut out a Soft Sea Foam heart using the large scallop die and the Big Shot.
- Cut it out again in Whisper White Cardstock.
- Stamp the words in Soft Sea Foam ink in the center of the Whisper White Heart.
- Remove the center of the Soft Sea Foam heart and replace it with the Whisper White heart and adhere to the card front with Dimensionals about 1/2" from the right-hand edge.
- Cut out the flowers in Flirty Flamingo and then adhere to designer paper and cut around the edges.
- Adhere the flower to the lower left-hand side of the heart with dimensional.
Be sure to hop over to Alison's blog and check out her Just in CASE card today.
I hope you found some inspiration here today, Want More?
- Sign up for my monthly E-Newsletter and receive a FREE tutorial with each one.
- Earn FREE Cards and PDF Tutorials with my Rewards ToDieFor.
- Have it all with the $99 Starter Kit check it out here.
- I love connecting with you! Click Here for questions or comments!
Need Stamps? If you are in the USA, I would be delighted to have you order from My Online Store.
To earn Bonus Rewards use the Host Code
If you are reading this via an email, Click Here for the current CODE
In Canada order from Alison Solven's Online Store
Today's Supplies just click on the image to start shopping


Good morning, Patsy. Thank you for the info on the thick vs. thin folders. Your card is awesome. Love the colors and the use of the ribbon instead of the bakers twine. The ribbon makes the card look more elegant.
Beautiful!
Typepad HTML Email
Thank You Janet
Typepad HTML Email
Thank you Barb for you words of encouragement it means so much!